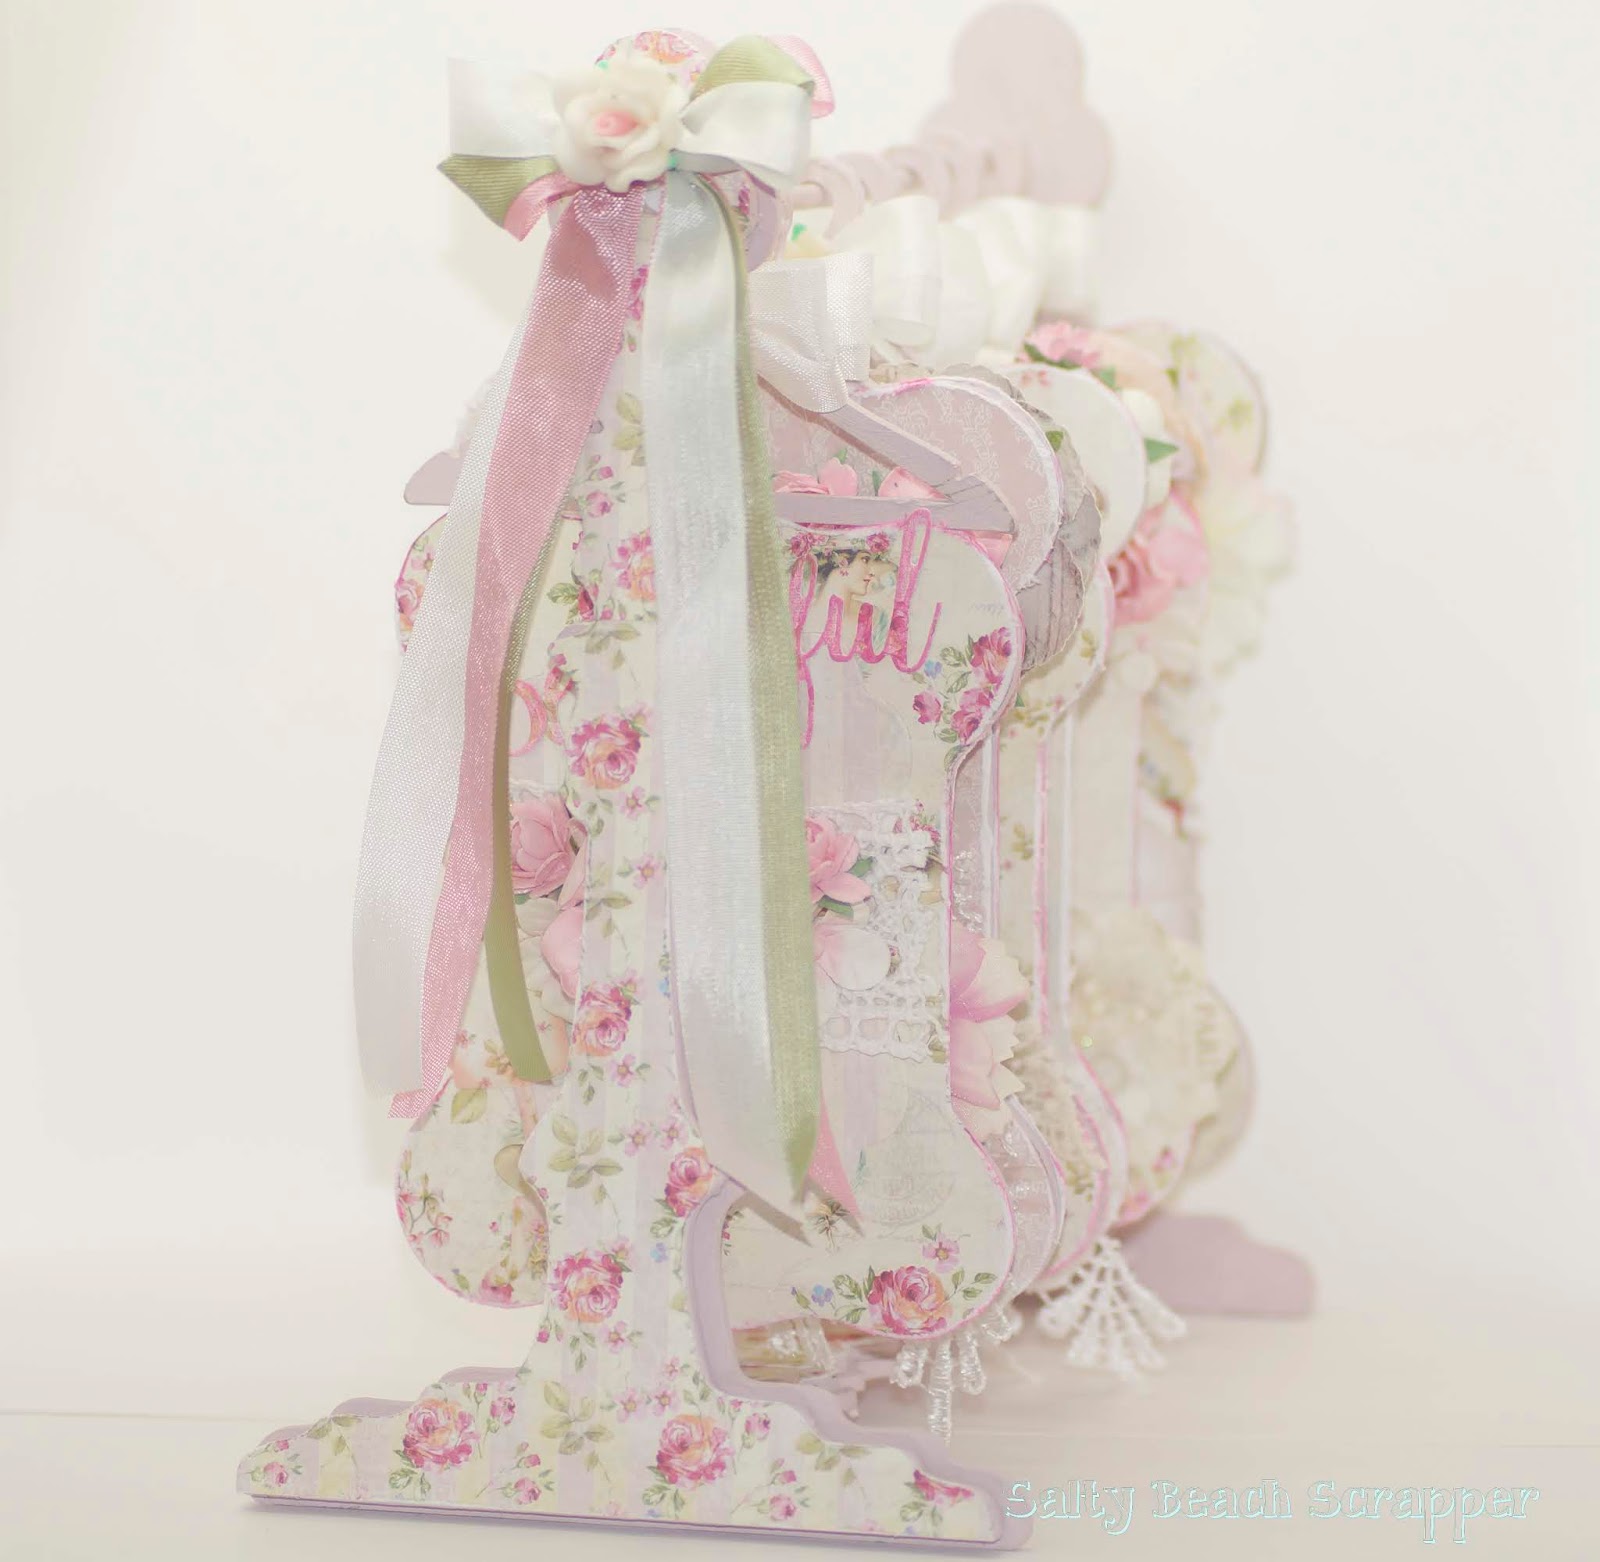
Sunday, July 28, 2019

Mini Album using the Summer Blush Kit


Hi everyone, it's Patti here and I'd like to share my latest Crafty City Design Team project using the Summer Blush Kit. This kit comes with everything you'd need to create either my mini or another summer project you have in mind.  I opted to switch out the Pion solids that were included in the kit for solids from my crafty stash. I also pulled old old old embellishments I had tucked away.  Don't be afraid to raid your crafty coffers when using a kit.

There will be a tutorial series coming later to share how to construct the  mini and ideas for how I fussy cut and stretched the 8 designer papers from the Blue Fern Blush collection into four expandable pages.  


My mini has four repetitive pages, in other words once you get the jist of the first constructed page you just simply duplicate and repeat, I have four pages but the skies the limit to how many you can add.  With this sort of mini you have ample room for the smallest Instagram and iPhone photos to extra large 7 1/2" square ones.  Trust me you can stuff a lot of memorabilia and photos into these four pages.


Included in the kit was a pre-cut chipboard frame from Scrapiniec.  These come plain brown chipboard color which leaves the maker the freedom to change the color to anything that fits.  You can see I choose an aqua/teal color here and throughout the book.  I love the pop of color it gives.  I've adorned the edge of the frame with flowers from the kit as well as one of my homemade ones and others from my stash.  The metal butterflies, from my stash, were plain metal and again using Gesso, inks and paints I got them to match the color scheme of the collection perfectly.  The photo is just for you to visualize how this mini would look with your own photos, it's not included and is a Heritage photo of my Grandmother and my Aunt, aren't they gorgeous!


The pages all follow the same theme, the left hand side has a gorgeous fussy cut tuck in spot for a huge mat (included) or many photos of your own.  The right hand side is where the fun begins.  Each section is secured with these small tab pages that are tied together with colored seam binding. 


Here's a snippet of each of the four pages 


When the ties are unlaced they open to reveal all these wonderful photo spots.  On the left there is a tuck spot or pocket on the backside of the tab.  On the right side there is a spot for either photos or a large bookmark, (I'll show you that in another photo).  When the flaps are opened top and bottom in the middle you'll find three generous areas to place your photos.  All have fussy cut tuck spots to hold the photos or treasures securely in place.  Nothing is worse than picking up a mini and having all your photos fall out.


You know that spot on the right on the above picture, that has the two photo spots, well this is the front of that, it's an extra little place to house a tuck in, photo or journaling.


Here's a look at two other pages, same design, but different configurations.  Fun stuff!  This little flip out gives lots of interaction and the ability to add several more photos or journaling.


You'll find lots of little extras, like a letter on top of a letter.  The paper has a pre-printed letter on it, so I cut around the bow and made my own envelope to slide into it.  It's a place to tuck that secret little message you don't want everyone to see.  Don't you just love that flower pull on the tag?  Wow that's one of the Lemoncraft flowers that are included in the kit.


There were two of these flower sprays in the kit and you'll see I used both as tuck in holders.  This one has a glassine envelope with some lovely surprises inside.  On the top is one of the many butterflies you can fussy cut from the butterfly sheet which is included.


Each page has a large 7"x8" section that I had so much fun designing.  I took the designer elements from the collection that appealed to me the most and fussy cut pockets for each of these pages.  It may be a bottom full fledge pocket or a top tuck in one, either way they will hold all your photos securely.  These tiny little envelopes are a mini stamp and die set included in the Summer Blush Kit.  I added them to the fussy cut piece to extend the pocket and add more visual delights.  If you notice, tucked in the pocket, is a circle.  This pop out is from the frame on the front cover.  I told you I used everything!  


- Here are the other middle sections - 


I always love adding a waterfall, you can house so many photos in such a small area.  This time I copied an idea I saw a fellow crafter (thank you Diana for inspiring) use by cutting the focal point and just stripping the bottom of each of the flips below the first.  The paper looks like it's just continues on and on and you don't loose any of the design this way.  I love the look and when you are short on paper it's a wonderful way to conserve. Here's where I used that other spray as well, and the tuck in there is the packaging from the Lemoncraft Buttons in the kit.

So my friends here's a little look-see into my mini.  I hope you'll pop on over to YouTube and see the full mini front to back and all the little hidden, surprise gems I didn't have space for here.  This mini will be offered for sale so check out the description below the video on YouTube for the particulars.  

Have a great crafty day and be sure and check out the Crafty City store!


Find A Soul's Heartbeat at


Monday, June 17, 2019

Summer Blush Kit

Check out my reveal video to see the new Summer Blush Kit in the store now.  Please note order by July 11 to have shipment by July 14, order after July 11 for shipment in August.


This gorgeous kit features Blue Fern's Blush Collection and an assortment of wonderful goodies to make any project spectacular.  I will be back in June/July with some inspiration for you.  Patti


  Find A Soul's Heartbeat at

Tuesday, May 28, 2019

Lavender Mist Kit leftovers - Two Cards and a Tag

Hi everyone, I'm back with my last video using my scraps, the pieced/quilted type scraps.  This time I've made two cards and a tag.  I'm not usually a tag maker so it was fun to try something new.  Please check out the video at the bottom of the post for process and walk-through of today's projects.


I'll be making this card start to finish on the video, sharing how I put it together and what tools I used.  I did add some ribbon from my stash but most everything else was included in the kit.


Here's a look at the inside.  I have a flip open element that houses the sentiment and room to write a personal message.  Both cards are A2 size.


This is card two, I premade it but do walk through the process with you so you'll be able to recreate it with your own papers and elements from your stash.


Here's the inside, which includes a belly band and a tuck in note card to either stamp a greeting pertinent to the occasion or write your own personal sentiment.


The final project is a tag, and as I said I'm not usually a tag maker but I had so much fun creating this one and love how it turned out.  Notice the lace across the bottom?  That's the strip I cut from the pieced scrap panel.  You can't see the back of the tag here but it's the remainder of that piece.  I thought this a great way to used up this pieced mat!

Come join me on the video and see how I put these two cards and a tag together.  Perhaps I'll share something that you might find useful in using up your scraps as well.  
Patti


Find A Soul's Heartbeat at


.

Monday, May 20, 2019

Lavender Mist Kit Scraps into Quilted/Pieced Mats

Hello everyone, I'm back today with another technique, it's not new, and it's not mine, it's been around for eons but I thought I'd share how I do it and in turn how I use it in my cards.  I took all the leftover Lavender Mist Kit scraps and pieced them into new mats that can be used whole or die cut, as I'll show you on the video (link at bottom of post).


I am totally in love with how this card turned out.  The die cut piece is all leftover bits that often get tossed in the garbage.  I ended up having six mats for use with just a small pile of my accumulated scraps.  I used an older Spellbinders die called CrissCross to cut my design.  I also cut a corner adornment, a paperclip and the most gorgeous lacy border, which I still haven't decided how I'm going to use.  I'll be back with examples later on with how these became renewed.  So please consider when you're about to toss those trimming repurposing them into something new and beautiful.  Yes it takes a few minutes but oh my the outcome is so worth the effort.


Here's the inside of the card, and yes that little paper clip (and it actually is just that paper) is cut from one of the pieced mats using a die.  I inked these papers with Wilted Violet Distress ink and used a standard A2 sized card, 5 1/2" x 4 1/4" when folded.  Everything shown was leftover from the kit except the stickpin and little snippet of ribbon which came from my stash.  I hope you'll join me on the video for the complete process of making the pieced mats and the card.


Find A Soul's Heartbeat at


Sunday, May 19, 2019

Dimensional Flower Card - Lavender Mist Kit Leftovers

Hi everyone.  I'm going to be posting some videos sharing the leftovers from the Lavender Mist Kit made into assorted cards, hopefully I'll give you a few ideas to use up your scraps as well.  This first card uses a decorative scrap of paper and assorted flowers that were included in the kit.  I have a process video with the link below if you'd like to see how the card was made. Thanks for joining me, Patti


Process Video Here -


Find A Soul's Heartbeat at


Saturday, May 18, 2019

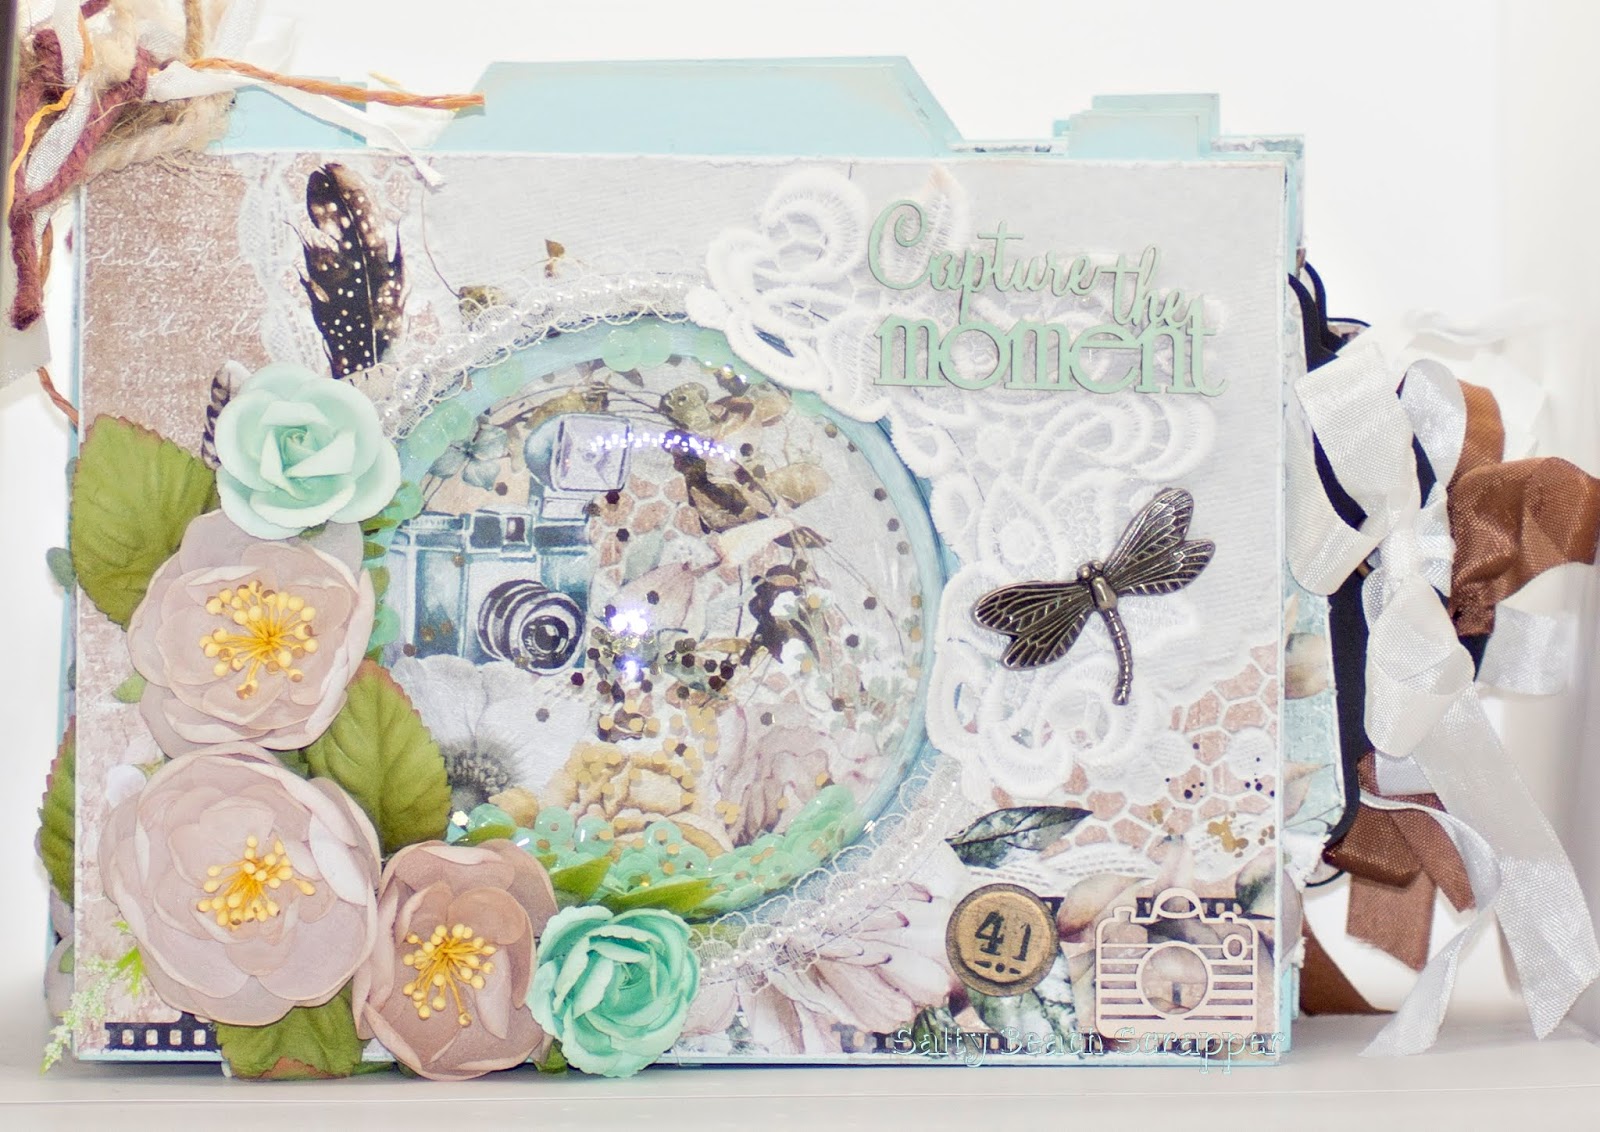
Capture the Moment project share

Capture the Moment
design team project share
by designer: Kimmy Murray


     I am an avid photographer and love taking photos of my children, friends, holiday events and places I have visited or vacationed in.  This Capture the moment kit has everything you could need to create a beautiful album that will hold all your special photos.


This kit contains the Mintay paper collection, Life Stories.  Life Stories is an eclectic collection of papers that contain motifs of flowers, wood floors, peeled paint on fences, old fence hinges, vintage typewriters, cameras and wonderful dated ephemera pieces from the early 1900's.  The collection contains delicate pastels and old world charm. 

In addition to the Life Stories collection, the kit contains a large selection of beautiful Prima flowers and  foliage, lace, seam binding ribbons, Chipboard Camera and chipboard elements from Scrapiniec, a package of large tags from Graphic 45 and Prima  ink , yarn and twines and a Zig 2 way glue pen. 


I hope you enjoy this kit as much as I do and can't wait to see yours. The link to purchase the Capture the Moment kit is here: http://craftycity.com/index.php?route=product/product&product_id=1740
To join our Facebook group the link is here: Shabby Paper Hub
 If you would like to see the full walk-thru video please click on the video below: 


If you would like to follow along with the Facebook live tutorial plus the process video of part 2, Please click on the video below: 


Thank you so much for visiting our blog and if you have any questions about my tutorial or other Crafty City projects please check out my email and other websites below. XOXO~ Kimmy

Social media and contact information


Tuesday, May 7, 2019

Lavender Mist Portfolio Tutorial Series

Hi everyone, just wanted to share I've begun adding the videos to the Tutorial Series Playlist for the Lavender Mist Kit Portfolio.  Each video is clearly marked as to what part of the portfolio is being covered so if you're only interested in one thing it should be easier to find.  There will be 7 tutorial videos and one walk through video in the Playlist.  Enjoy!


Playlist for this Series -  https://tinyurl.com/yxtprz3b

Lavender Mist Kit - https://tinyurl.com/y6buwn65


Find A Soul's Heartbeat at


Monday, May 6, 2019

Lavender Mist Kit - Portfolio

Hello Crafty friends, it's Patti here today sharing my project using the Lavender Mist Kit.


I did supplement the original kit with an additional package of Stamperia Provence paper.  I like to have wiggle room when I create and having only package sometimes can make that harder.  There is no reason you can't recreate my portfolio though using just the paper that's included.  You will just have to stream down your mats and flips with less decorative paper and add more solids.  So don't despair if you only have the one pad, or don't wish to buy additional, you'll be just fine.


My project is a portfolio measuring 10 1/2" x 8 1/2" with two 1 1/2" spines.  It opens off-center in the middle, front closing with several strong magnets under the heart.  If you don't have or care for magnets it would be super simple to run any type of ribbon under the mats on the fronts, sides and back first and close with a pretty tied bow under the heart.  There's always a way to change it up to what appeals to you best.


My portfolio opens to a double waterfall flip on the right side and four graduated pockets on the left. The 14 flips provide 28 spots for photos just shy of 3" x 4", or if you are watching your paper you could skip the decorative paper on the flips  just use the solid mats, which would allow easily for photos this size, all 28 of them!  On the left side the pockets graduate in size to accommodate a 9 1/4 x 3 3/4" mat, a 7 1/2" x 3 3/4" mat, a 4 3/4" x 3 3/4" bi-fold photo book and two 2 3/4" x 3 1/2" bi-fold booklets.  The center, will that just full of awesome goodness, let's look and see!


You have this beautiful perfume bottle adorned with a spray of Stamperia's laser cut flowers (included in the kit, in fact there are two sets of laser cuts so you could choose whichever one speaks to you).  This is removable and pulls out to reveal 8 6" x 6" photo areas.  It tucks into a pocket behind which also houses a surprise.


Magnetized under the lovely perfume bottle is this swing pocket with a large bi-fold purple mat.  Have you noticed all the purple, my favorite color!  Well one of them anyway.  This time I tried something I'd never done before and used 4 different coordinating shades of purple and lavender for my matting.  I really liked the look! On the right side of the swing pocket is a large area with a pull out solid mat under which is room available for a huge 6" x 8" photo or smaller ones so you don't cover up this gorgeous Stamperia paper.


Still hidden below is a large side tuck spot filled with mats on the left and another gorgeous pocket made with the lace which I embellished with the Prima crystals, both from the kit, .  I fussy cut and backed the lace on a sheet of acetate to give more stability and ease of sliding photo(s) into the pocket.  This whole section from the perfume bottle pull out to these pages here are secured with lavender dyed seam binding tied into a bow.


Here's the very last, the back of the portfolio.  I used the gorgeous die (included with the kit) to top my center mat and the side pocket. I did reinforce the pocket die by cutting it twice and gluing one atop the other.  The butterflies are also included in this overflowing kit of scrumptiousness!

Now I've barely scratched the surface of this portfolio but you can see it all on my walk through video.  I will be uploading a complete playlist of how I assembled the different aspects of my portfolio.  Thanks so much for looking.  Please be sure to pop on over to YouTube and watch the complete video so don't miss a thing!


Monday, April 22, 2019

Crafty City Shabby Chic Wardrobe Tutorial


     Good Morning Crafty City fans!
After receiving my amazing Wardrobe Kit from Archana, I could hardly wait to dive into it!
This kit has the most delicately beautiful flowers, seam binding ribbon, vintage inspired laces
and the most gorgeous Victorian themed paper collection by Craft and You design paper and of course last but not the least the wooden wardrobe by Scrapiniec. Below is an image of the wardrobe kit I received.

     Isn't it luscious? Having kits make my life so much easier, everything I need to complete my project is there. On Monday, April 15th I had my Facebook live show tutorial. In this tutorial I show you how to attach the wardrobe kit together and how I decorated it. I have edited the live show video and created a  video tutorial for you. The link is down below:


Thank you so much for watching and I hope you enjoyed the tutorial. The links to purchase this kit are here: Wardrobe kit purchase link
I can't wait to see yours! Click here to join our Facebook group: Shabby Paper Hub Link. Here are some more images of the finished wardrobe. 


Happy Crafting! 
XOXO~ Kimmy Murray